
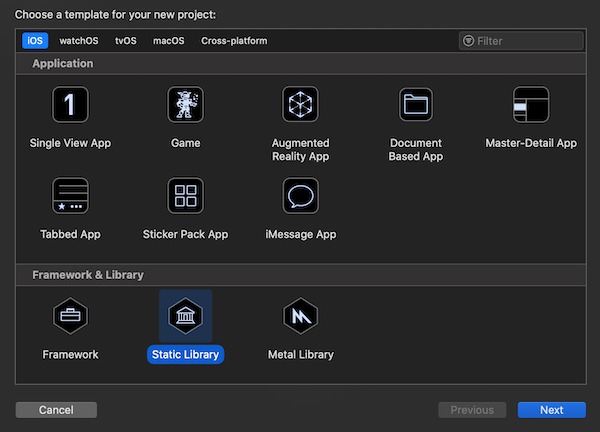
Where we can see frameworks and libraries? The answer is everywhere, Apple standard libraries (UiKit, MapKit, SwiftUI, etc) and third-party libraries like Cocoapods and Carthage. Also, you can create your own reusable code. And here Xcode gives us to create three kinds of grouping code:
- Framework
- Static Library
- Metal Library
We will focus more on Static Libraries.
What question we will answer at this topic:
- Why do we want to group our code into libraries?
- What is a library in general?
- What is a static library?
- How to create a static library and implement it to the Xcode project?
Why do we want to group our code into libraries?
- Convenience. You always will have some code that you can re-use in different projects. Imagine you found a bug in a sample of code or simply you want to add some new features. If you don’t use libraries, your next steps will be fixing this code in all projects, which will take from you more time than just put a new fixed library.
- Readability. This way separate your code into smaller parts that will help you and other programmers more easier understand your code.
- They are closed-source. Your code can’t be seen or modified. It stays with “non-touched” from the Xcode project.
What is Library in general?
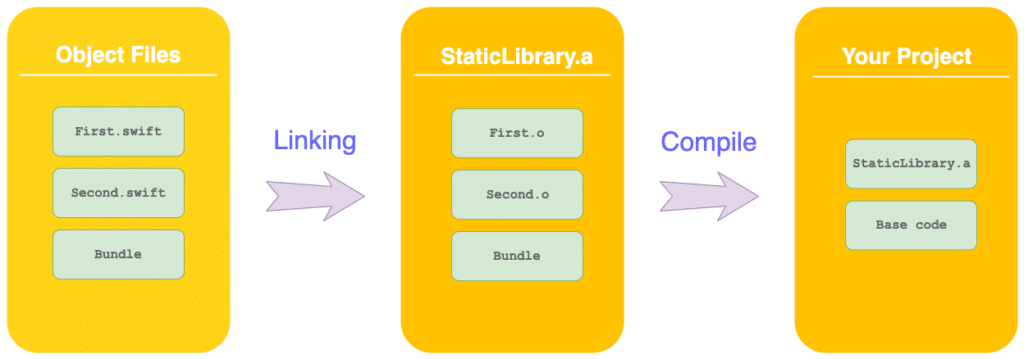
It’s a block of compile code and data, it can contain multiple files that are not a part of your project.
Process of wrapping files inside a single file called linking. Linked files can be run on different devices (simulator, iPhone, and Mac).
Libraries have two types, depends on how the wee linked to the project:
- Static Libraries, with .a extension
- Dynamic Libraries, with .dylib extension
- Text-Based
What is the static library?
The difference from frameworks is in the linking process. Statically linked files are included in the binary, which means your binary got bigger.
It will take from App more time to launch. Function calls, however, are faster than in shared libraries.
And one more important thing – static libraries cannot include resource files (Xibs, storyboards or images), only code… But we can wrap our resources in a Bundle and voila!
How to create a static library and implement it to the Xcode project?
Create a new project
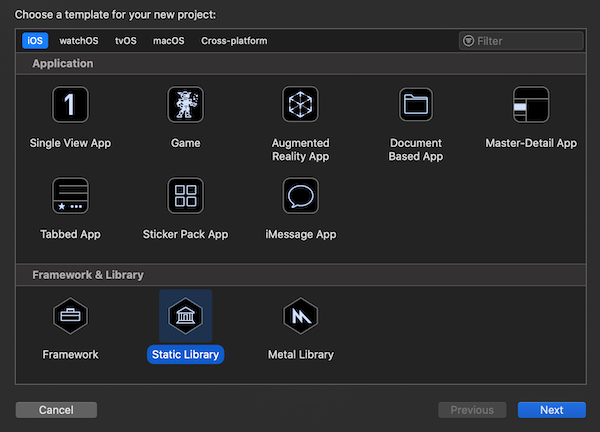
We starting to build our static library using Static Library template:
Open Xcode > New Project > Static Library > Next …
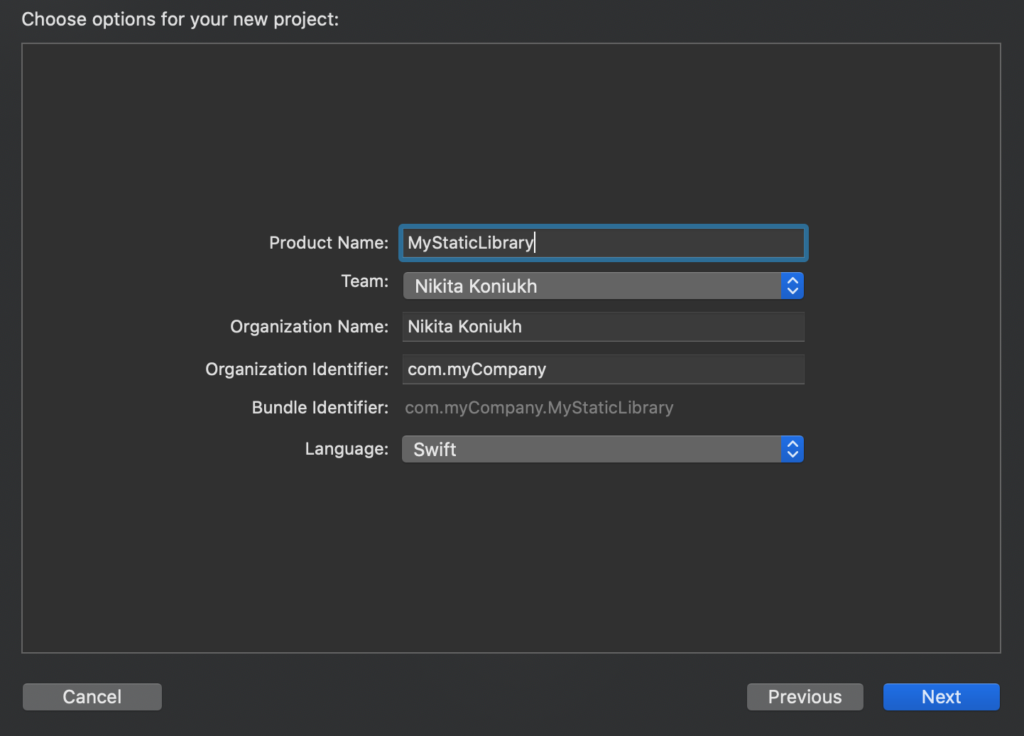
On the next pop-up window set the Product Name, and make sure that you choose Swift language (we can create Objective C library, but it will make us do some additional steps for implementing our library into Swift project). Click Next > choose where you want to save it > Finish…
Add resource bundle to your library
How we now static libraries cannot hold a resource and for that we will create a Bundle with our resources.
From menu select File > New > Target
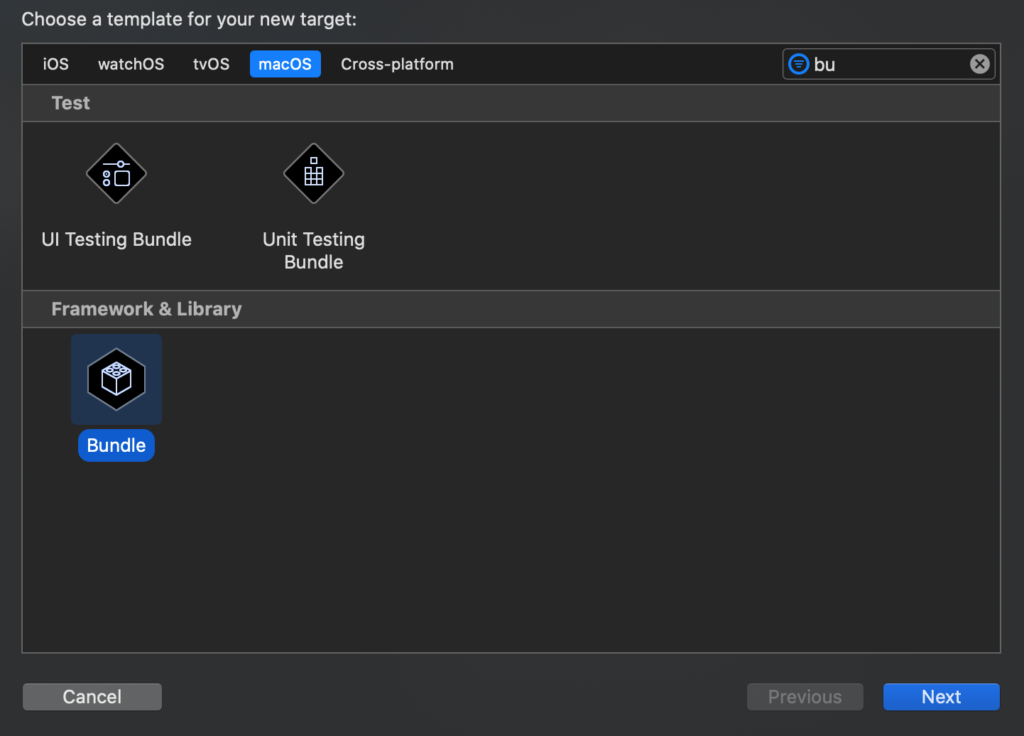
On a pop-up menu choose the macOS tab and at Frameworks and Libraries section choose Bundle template and press Next. Give a name and be sure that the target project is your MyStaticLibrary. I gave a name to it – “HelloWorldBundle”
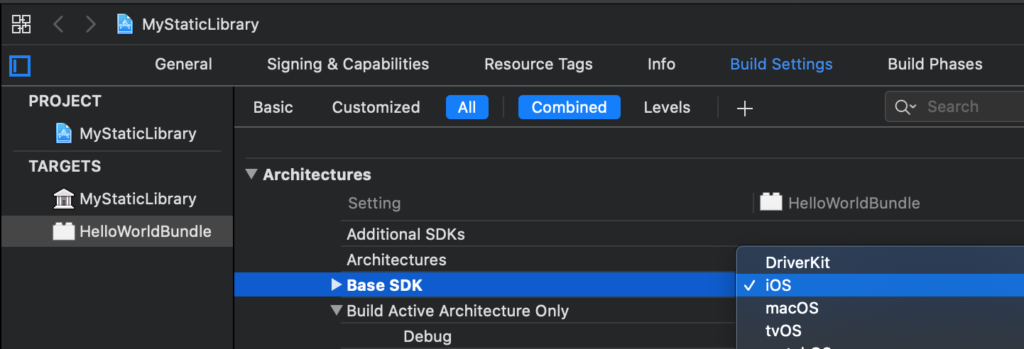
Next from targets list select our HelloWorldBundle > Build Settings tab > Base SDK chance from macOS to iOS
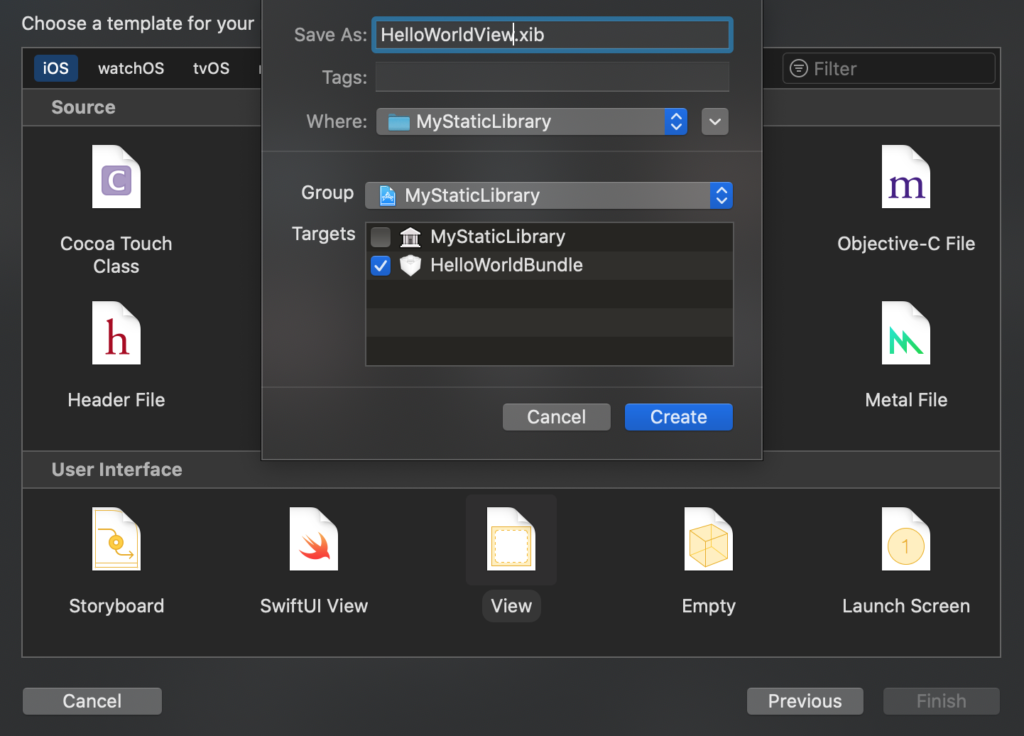
Now add some resources to our HelloWorldBundle. To add you can simply press cmd+N > File > New File. I will add View with the Label “Hello World”. Be sure that you check your bundle in targets.
Next, we’ll create a view controller for this Xib file. I Hope you familiar with UIKit and you can add customize your library the way you want. I just added the Label “Hello World”.
After you’ve done with customization of your bundle set Active Scheme on “HelloWorldBundle” and press cmd+B.
Important: only classes and functions that you give them public state you’ll see out of the library.
We are almost done… Set Active Scheme on “MyStaticLibrary” and press cmd+B
We did it! For this point, we have our own static library!
Link Static Library to your App
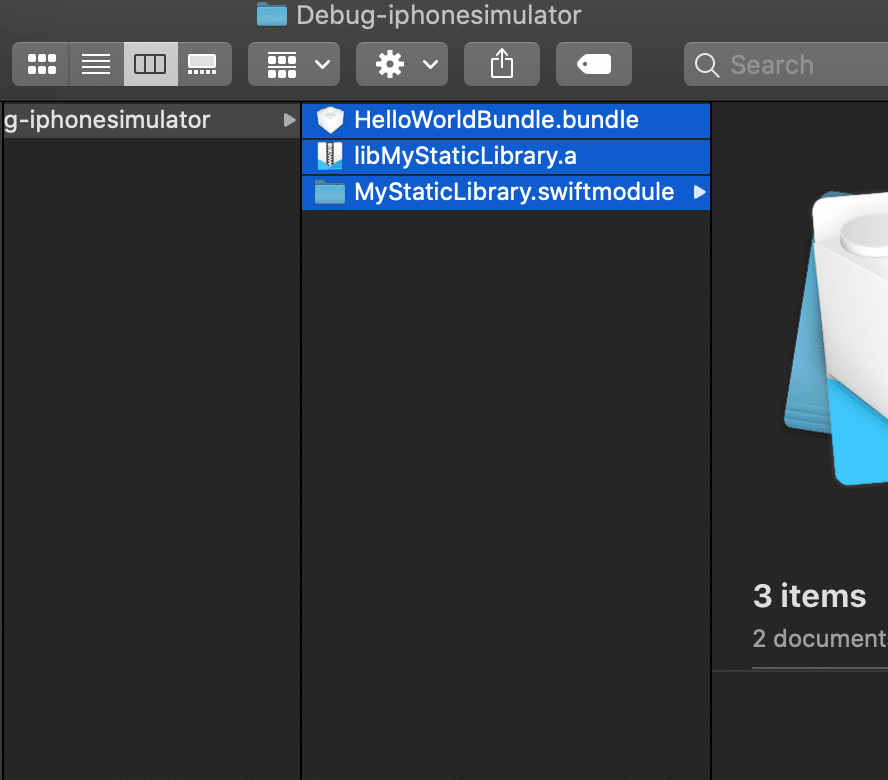
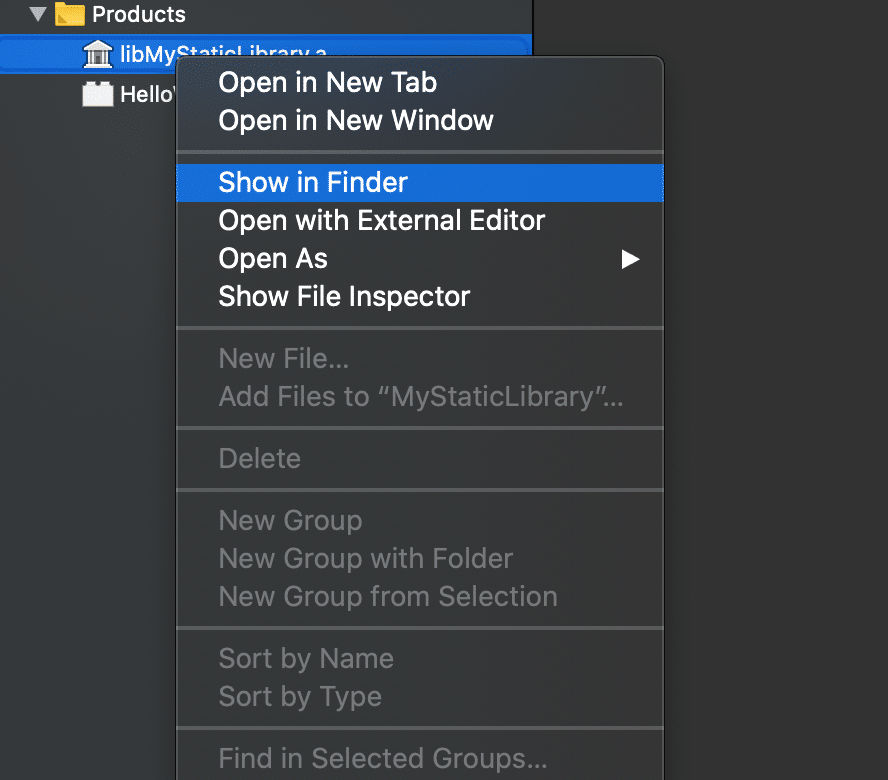
Right-click on your libStaticLibrary.a choose Show in Finder, copy files and put them to a created new folder which the name “lib” in the root folder of your project.
Create new single view application or open your project where you want to use your library. With right-click on the project’s name, select Add Files to “Your project”.
At next steps we check if it integrated correctly:
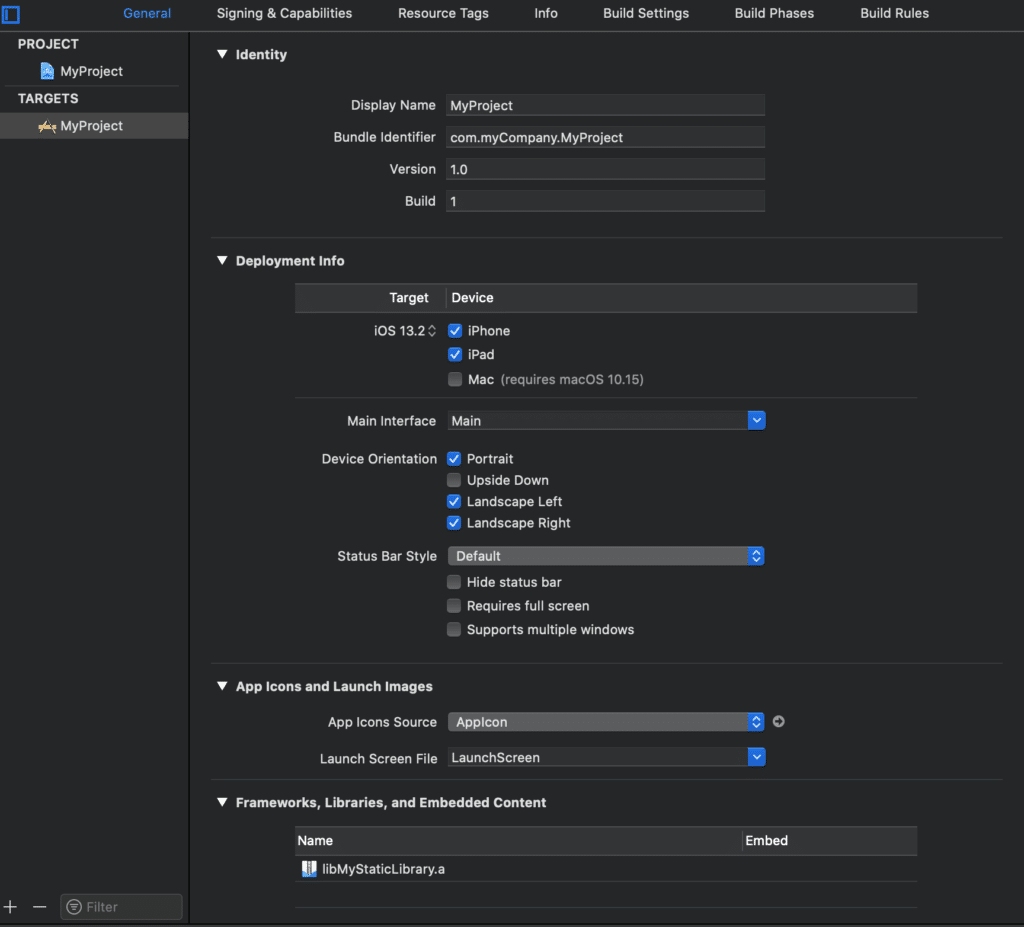
Select the project’s name in project navigation, then select “General” tab and select the application target.
The section “Linked Frameworks and Libraries” has to contain a line with “libStaticLibrary.a”. If it does not, press the “+” button and select manually.
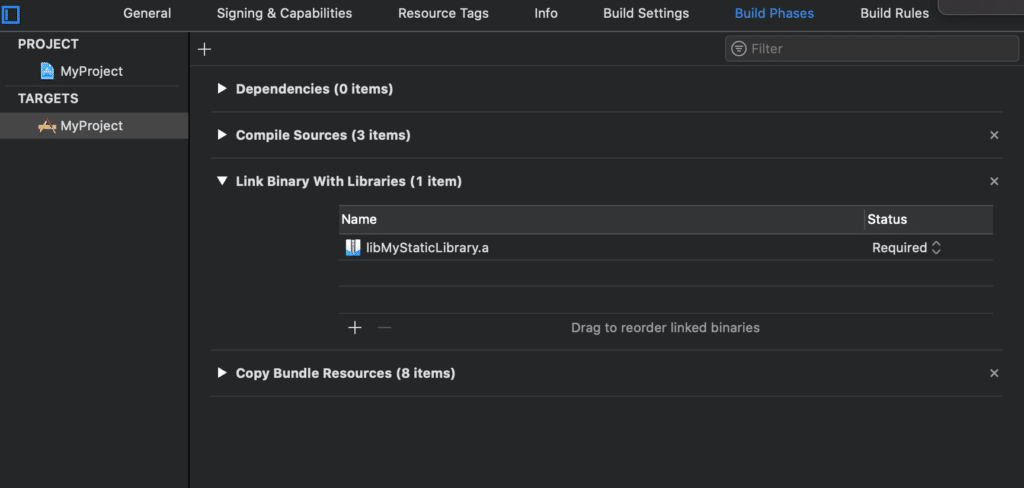
At the “Build phases”, expand “Link Binary with Libraries” and make sure that it contains a line with “libStaticLibrary.a”. If it doesn’t, add it manually.
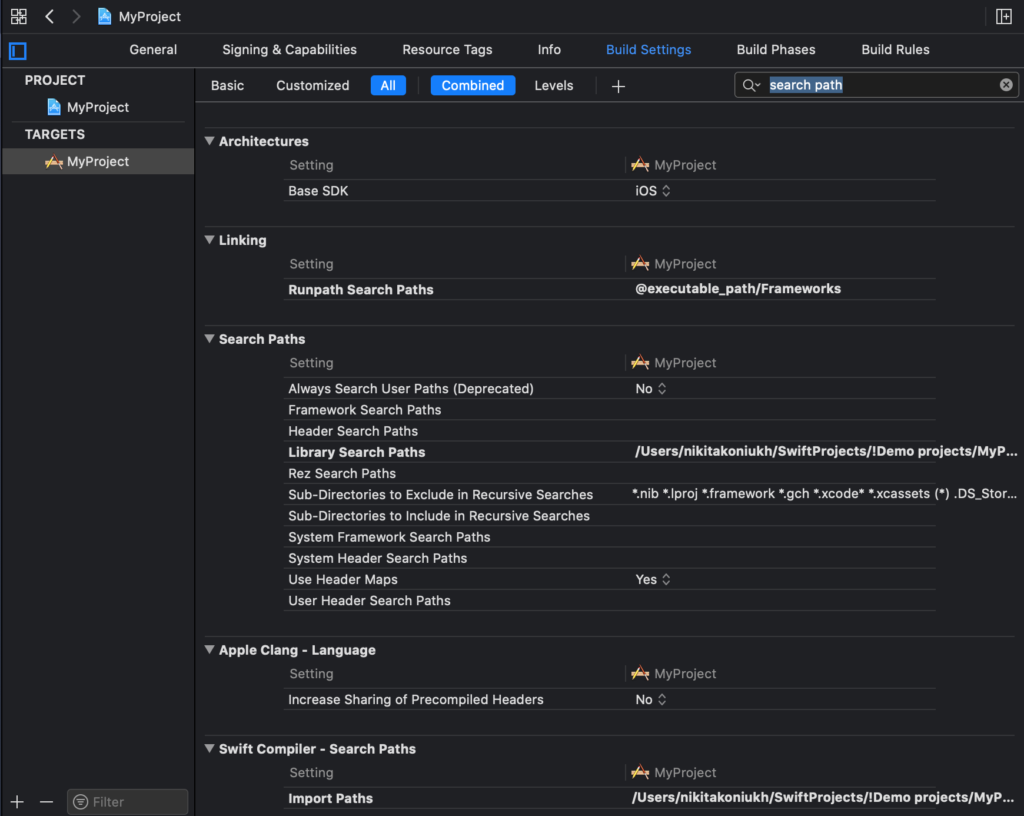
At the “Build Settings” tab, make sure that tabs “All” and “Combined” are selected. And in the search field type “search path”. Copy path from “Library Search Path” and paste into “Import path” (double-click on the empty row will open window, press “+” and past it).
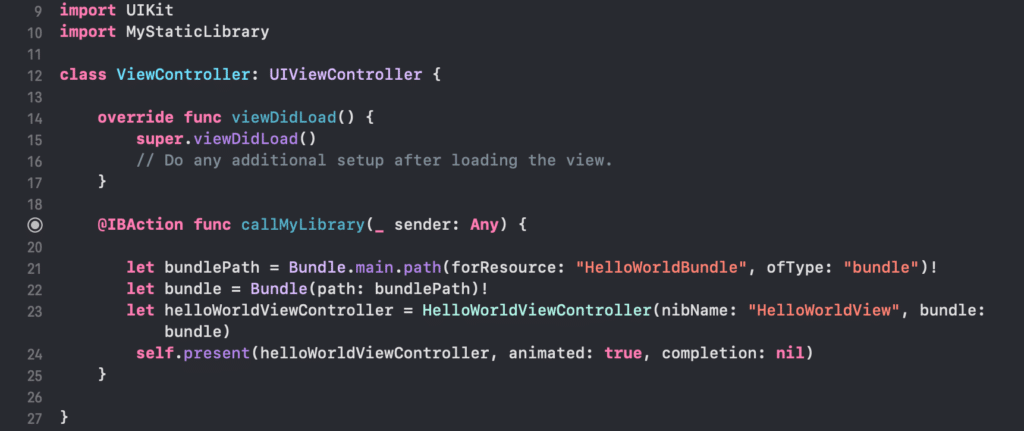
From this point, you can start using your library with import.
Visit our blog and read a new article about augmented reality on iOS
2 thoughts on “Static Library in Swift”
Leave a Reply
You must be logged in to post a comment.
Pingback: Core Graphics iOS framework - mobile development company's blog
Pingback: Accessibility on iOS – MSAPPS